Monday, March 5, 2012

Stripping Diapers with RLR

I am going to share with you all the way I strip my diapers.  You will probably find other ways to do this as well but this is the way I do it.  I first tried RLR about a year ago and now it is the only thing I fully trust to deep clean my diapers.
So get yourself a packet of RLR HERE.

Before we start, you need clean diapers.  So do your regular wash routine to get them clean.  
If you have a lot of diapers, consider splitting them up into 2-3 batches.  I split mine up into 2.

 1. Fill your washer with HOT water, a packet of RLR and your diapers.
2. Close the lid and let it agitate for a minute or so.
You should see lots of suds!


 3. Let it soak!!! I suggest letting it soak for several hours, if not overnight.  I personally let it soak all night long.
4. After letting it soak, let it agitate for a minute again. (the bubbles suds will settle from sitting). Then get a measuring cup and start scooping all the suds off the top.  This is a kind of lengthy process but trust me, its better than doing a million rinses.  I have a utility sink next to my washer so I scoop and dump the suds in the sink. 
You want to remove as much of the suds as you can. 


5.  Now to rinse! Turn your washer back on and let it run through a cycle.  I can add a double rinse on mine automatically so I do that.  Continue to rinse, rinse, rinse and lift the lid to check on it every once in awhile.  If you can still see suds or some soap residue floating on the top of the water, you need to keep rinsing.  I will use my scoop to get rid of some of the suds during the rinse phase.  
See the soap lingering around?

6. Once you can lift the lid and see clear water, YOUR DONE! You can go ahead and dry your diapers as usual!

I hope these directions were clear.  If you have a question, please comment on this post. :)

Cheers to clean diapers!!!


Sunday, January 22, 2012

Coin Covered Letters

Coin covered letters are a totally unique way to decorate a wall in your home! I found the idea here on Pinterest.  **I did not come up with this idea, I just saw it and did my own thing**

Materials:
Wooden letter(s)
Coins(your choice of coin)
Craft Paint
Paintbrush
Hot Glue Gun
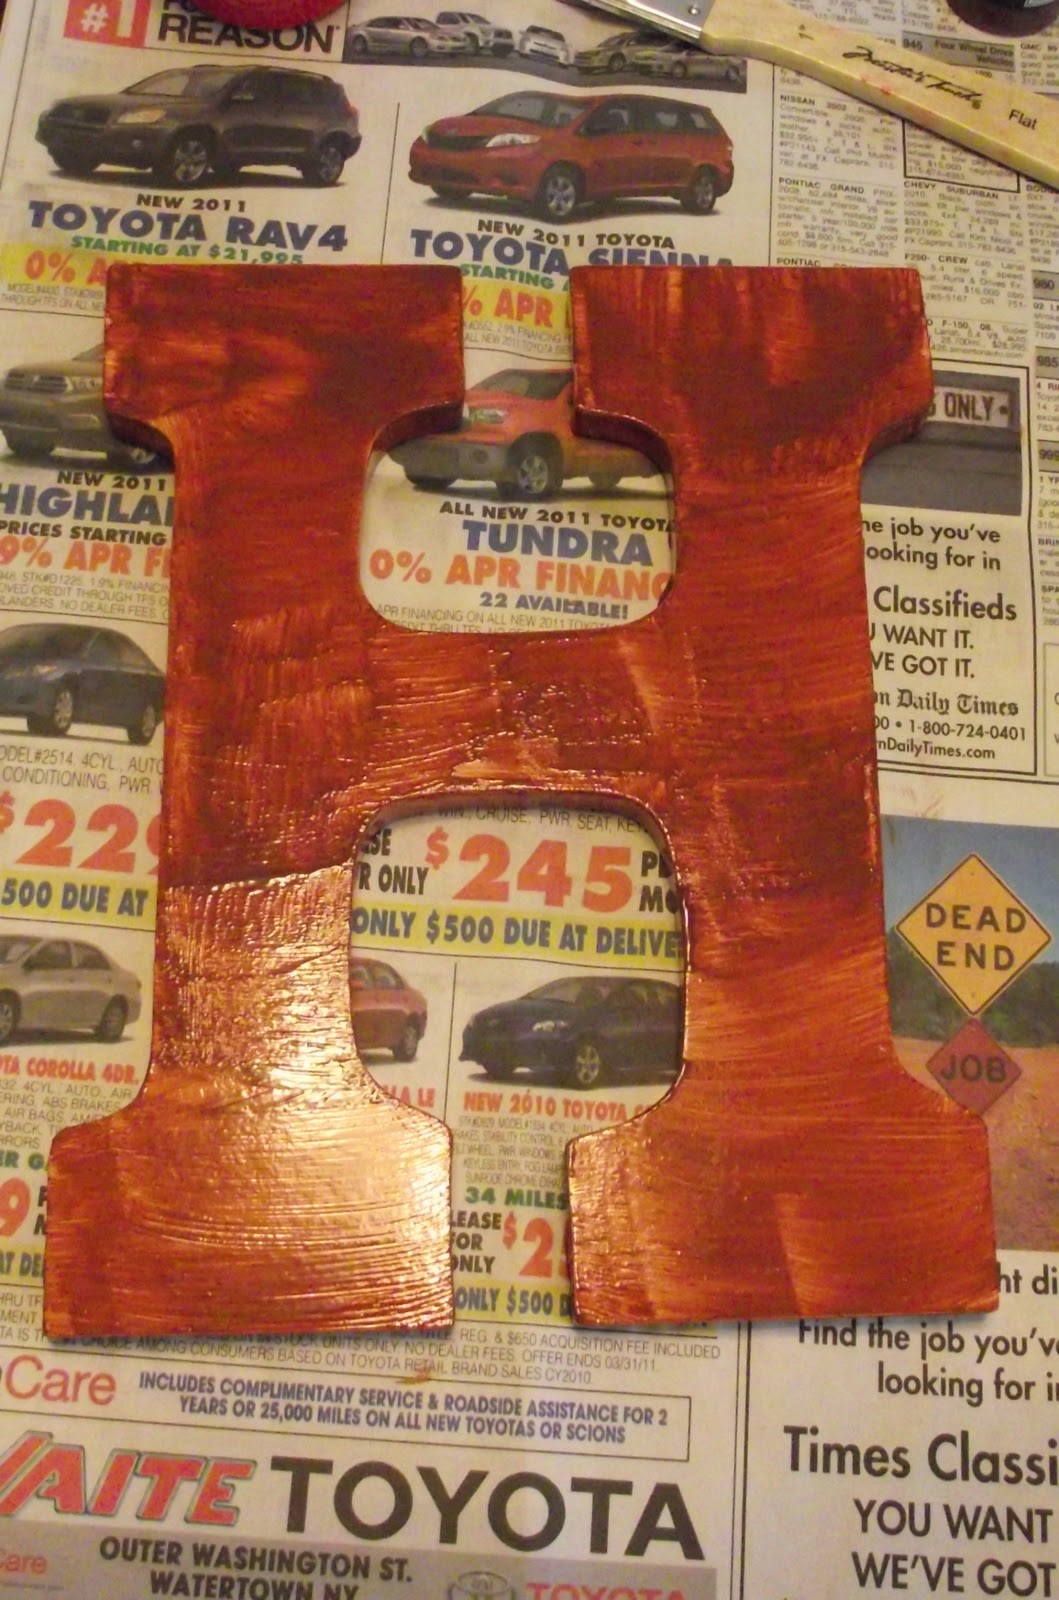
An H for Hummer, obviously! :)


Step 1:
Clean your coins! I found this website here and used what I had on hand.  First we did a soak in Coca Cola (cause we all know how nasty that stuff is!) We let it soak for about 30 minutes.
Meanwhile, paint your letter(s) if you so choose.  We painted it brown somewhat blend with the pennies.
Before

After(it doesn't have to be pretty, you will cover it up!)
After the Coca-Cola soak, I did the vinegar and salt mixture soak that was on the website.  I only let them sit for about 10 minutes.
You don't need much, just enough to cover it.
Tip: To rinse between soaks, throw the coins into a colander and use the sprayer on your kitchen sink.

Lastly, we did a polish with baking soda and water.  I mixed the two to make a paste and then poured it into my canister.  Then I rubbed the coins one by one with my fingers or with a toothbrush if they were really nasty. Side Note: This makes your fingers tired! So recruit an assistant to help you!

Do another rinse and then lay them flat on a towel to dry.


Step 2: 
Now this is the fun part! Get your hot glue gun plugged in and warming up and decide how you want your coins laid out.
Someone dropped water on my letter and left that nice white spot! Wonder who!?
Step 3:
Glue your coins on! Do this quickly as the glue will cool down pretty quick.  I suggest putting the glue on the coin and then pressing the coin down on the letter. If you decide to layer some coins(I did a little bit of this), put the glue onto the area you are going to layer and then QUICKLY press down on the coin.  You gotta move quick when putting a coin on top of another coin. Continue doing this until you cover your letter.  Like this:
Pretty huh?
Now hang that pretty thing on the wall!!!
This wall is still a work in progress! :)

Your done!!! Not too bad right? If I were to do this again, I would hunt for a larger letter.  This was the largest I could find at Michaels.  Maybe you could get a thin piece of wood and make your own? Oh the possibilites!

I'm Back!!

I know I know, I have said a million times that I am going to pick back up on this blog. Well this time I am REALLY REALLY gonna try!!! Now that crafting is huge part of my life, I decided I need to share my adventures with everyone! :) I will also be sharing some home organization and other mommy stuff like that.  Of course there will also be living green topics as well!

Wednesday, May 11, 2011

It's Official! I am opening a store!

Hey everyone! Long time no talk I know! Life has been very busy!
I constantly have people sending me messages about cloth diapering and all my other "green" tendencies! A lot of the time they are looking to purchase some stuff....so I decided....why not open my own store? So, my newest adventure in life is.....

Green Humbug...Reusable Products for Mama and Baby!
I will be making cloth diapers and covers, mama cloth(cloth menstrual pads), nursing pads, and whatever else I feel like honestly!
I am drafting my own diaper patterns now so hold tight! I will have testers available in the next couple weeks. I will be selling sized diapers because honestly I like them better. I may end up offering a One-Size pattern in the future but probably not overly soon.

Now to get everyone excited...check out my AWESOME new logo. Made by the amazing Chris Teeter at Chris Teeter Design! (If you ever need a graphic go to him! This was the first thing he sent me and it was just too perfect!)


It's perfect, right? I KNOW! I love it!

Ok I have a lot of work to do! Go "like" my page on FB! Green Humbug

Saturday, January 8, 2011

Amber Teething Necklaces

Amber teething necklaces are the greatest! Basically you put the necklace on your baby and leave it! The warmth of their skin allows the amber to secrete an acid that is a natural pain reliever. THE BABY DOES NOT CHEW ON THE NECKLACE! These necklaces are basically like a choker..so that baby cannot put it in their mouth. 
Bryson has had one on for probably 6 months or more. I never take it off. It is not long enough to choke on or anything. When he first started cutting teeth it was miserable! He did not handle it very well. Since he has had the necklace he has cut most of the teeth he has now and I don't even notice most of the time. I seriously I go to brush his teeth and find new teeth in his mouth! It's amazing! It really works great for him!
You can use Amber for other things as well....they come in bracelets for arthritis and longer necklaces for adults for migraines and other pains.
So here is why we are discussing this today: I have had a few friends interested in trying these out.  The thing is, they retail for about $18 & up. I am extremely cheap and will not pay that.  I got mine from a co op on a cloth diapering group for a great price! I decided to go ahead and host a co op so my friends can try these amazing things too. If you are interested please comment on this post or send me an email: devynhummer@yahoo.com. As soon as I have an idea of how many people want them I will be able to give prices. I am estimating we can do it for about $10-12 each including postage to me and you. The more we buy the better the deal we get! So tell your friends!

Sunday, January 2, 2011

DIY - How To Make Your Own Diaper Sprayer

I came across this video in one of my cloth diapering groups. This shows you how to make your own diaper sprayer so you don't have to buy one at the ridiculous price of $40 or more. The Mama that posted it said her hubby made their sprayer for about $12!!!
If your lost, a diaper sprayer attaches to your toilet making it super easy to clean poopy diapers off. You do not need to spray them off if you EXCLUSIVELY breastfeed...this means baby does not receive ANY baby food, table food, or formula. Breastfed poop is completely water soluble and will rinse away in the wash. Formula and baby food poop will not rinse well in the washer and you will have small clumps of poop lingering around (trust me I know this, I didn't spray a diaper off very well once LOL)
A diaper sprayer makes dealing with poop sooo much easier! I wouldn't live without one. Bryson eats all table food now so his poo is mostly solid and I can just plop it in the toilet but sometimes it won't be so solid and we need to rinse it off...this takes about 10 seconds and is really not that big of a deal!

Wednesday, December 22, 2010

Vinegar!!

I have been neglecting this blog...yet again! I apologize! I am going to really try hard and work on it more often.... Today I would like to talk about vinegar! I know I discuss it on my Chemical free cleaning page...but since I started this blog I have learned new ways of using it....and want to remind you of another great use!

Toilets: Put about a TBSP of baking soda in your toilet...then pour in about a cup of vinegar. You can use less vinegar if you would like just make sure you pour enough in to get some good foam going! Let it sit for a few and scrub with your toilet brush.....and VOILA! Perfection!!!
Our toilets can get a nasty ring around them pretty quickly and this method takes about 2 seconds to get them pearly white again! I will never use toilet bowl cleaner ever again!

Whiten Whites/Brighten Colors: I already discuss this on the cleaning page but it works so well lets talk about it again! Put some vinegar in your downy ball and throw it in the wash....it works amazingly well!! Since Bryson has started walking...his socks are no longer white! They get pretty dirty and it was bugging me! So I started using vinegar again and they look a lot better!

Diapers: I was having some serious stink issues recently and talked about it with many different cloth diapering mamas! One of them gave me a suggestion and it has worked like a charm...so I thought I would share it with ya'll! Now...I use mostly fitted diapers with a few pockets...they say vinegar can eat at the PUL...I have never had a problem with the pockets I throw in but if you don't want to chance it, I understand. If you are a pocket diaper mama....throw your inserts only in for this soak.
 Fill your washer with hot water on a medium sized load setting. Pour an entire gallon of vinegar into the washer(go to Sam's Club! I have bought so much vinegar from there). Then add about a TBSP of baking soda. Throw all your stinky diapers in...if you would like you can let the washer agitate for a few seconds to mix well. Then pause the machine and let them soak...either overnight or for several hours. I typically throw mine in first thing in the morning and let them soak till the afternoon. Once you are done with your soak...un-pause your machine so it can finish it's cycle. I then wash them normally and add an extra rinse or 2 with hot water.
This method has worked SOOO well! My diapers got some serious buildup when I was visiting my mom and this fixed them right up!! Bryson's skin looks so much better since we have been doing this. I do it about once a month or so. If anyone has any questions about anything natural/green please ask away! Chances are I know the answer or can figure it out for you!